Creating Closed Captioned Movies for iBooks
One of the great things about iBooks is that you can make your movies accessible by providing closed captions. It's very easy to do, too, if you own a Mac and have the right tools. For this tutorial we'll be using the following software:
- MovieCaptioner
- MPEG Streamclip
- QuickTime Pro
- ClosedCaptionImporter plugin for QuickTime
- iBooks Author
A Little Setup
iBooks support a caption format known as Sonic Scenarist (SCC). This format is also known in broadcasting circles as Line 21 captions. To be able to import these captions into our movie, we'll need QuickTime Pro ($30 upgrade to the QuickTime 7 Player from Apple) and the ClosedCaptionImporter plugin for QuickTime from Apple as well.
QuickTime 7 is required even though your Mac already ships with QuickTime X, but QuickTime X will not allow you to add captions to your movie, so either download QuickTime 7 from the Apple site or install it from your Mac OS X install disk as a custom install. It will install it in your Applications/Utilities folder and can coexist perfectly with QuickTime X as a separate application.
Once you get QuickTime 7 installed, upgrade it to QuickTime Pro by purchasing a serial number from the Apple website to unlock the editing features of QuickTime 7.
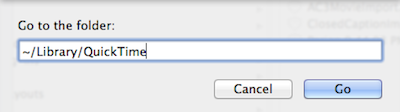
You will also need to download the ClosedCaptionImporter plugin for QuickTime from Apple. It's a bit hard to find on their Web site, so drop me an email if you can't find it and I'll send you a link. Once you get the plugin, just drop it in your Library/QuickTime folder. If you can't find your hidden Library folder, just to to the Finder's Go menu and select Go to Folder. Type "~/Library/QuickTime" into the form and hit Go and it should open the right folder for you. Drop the file "ClosedCaptionImporter.component" in this folder and restart QuickTime 7 to make the plugin available to the software.
Fomatting the Movie
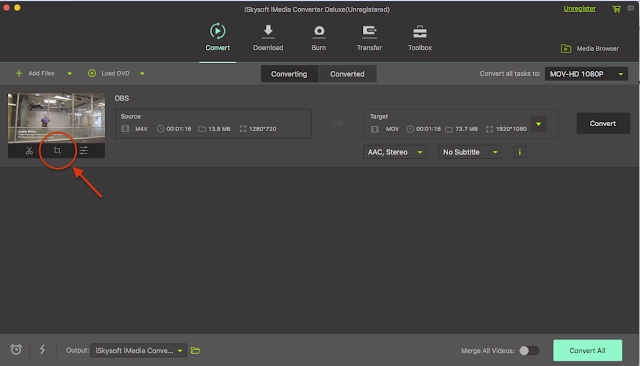
We want to start by opening our movie and converting it to an MPEG-4 (MP4) movie. This is necessary for the captions to display properly in the final movie. Using a plain ".mov" file may display your captions initially, but if you quit out of QuickTime Player and open it again, they will not display even though the caption track is still present. So you MUST use an MP4 movie. We'll use MPEG Streamclip for this. MPEG Streamclip is a free video converter available from Squared5 (http://www.squared5.com). After you open your movie in MPEG Streamclip, go to the File menu and select Export to MPEG-4...
This will bring up a settings window where you can adjust the final movie's properties. I've set it to the best quality and kept the same size for this movie...
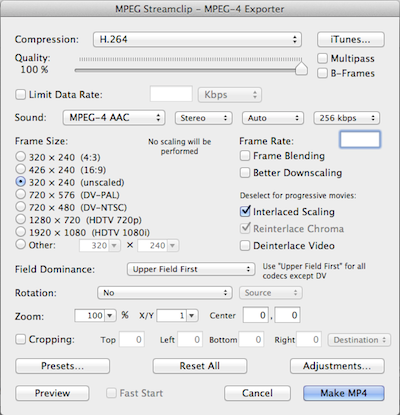
Then click the Make MP4 button in the lower right and give your movie a different name, being sure to keep the ".mp4" extension. Your movie will export.
Creating the Captions with MovieCaptionerNow that we have our MP4 movie, open a new project in MovieCaptioner. Click the Load Movie button and find your new MP4 movie on your hard drive. Make sure it's on your main hard drive and not a mounted drive for best results.
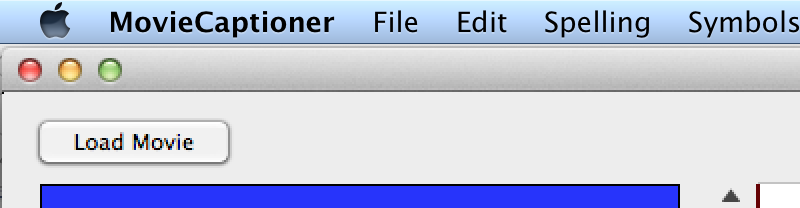
After your movie is loaded, click the Start button (NOT the movie's play button). It will begin to play the first 4 seconds of your movie (or whatever number you have set in the Repeat Interval setting).
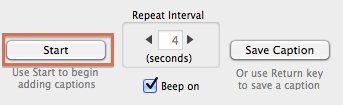
Once you've typed everything you heard in that loop of the movie, hit your Return key and it will record the start time and the caption on the right. Continue typing what you hear, as MovieCaptioner will move on to the next 4 second loop of your movie. Just keep typing and hitting the Return key to record each caption. It will stop when you've done the last caption automatically.

There is no need to save along the way. Each time you set a caption the project gets saved automatically.
If you need to stop at any time and perhaps edit a caption, click the Stop/Start button to stop the loop and edit your captions directly in the caption list on the right. Use the text area under the movie exclusively for creating new captions not for editing recorded captions. Once you make an edit, hit the Return key to save the edit and MovieCaptioner will save the edit automatically.
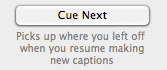
If you need to go back to setting new captions, first click the Cue Next button to insure that your next caption will start at the interval after your last saved caption.
When you're all done setting captions, go to the Export menu and choose "Sonic Scenarist (SCC Embed in QT)." MovieCaptioner will then analyze each caption and automatically break each up into no more than 32 characters per line and no more than 4 lines per caption. This is due to the strict specifications of the SCC format. Once it's done adding line breaks it will convert the captions into hexidecimal numbers and ask you to save the SCC file. Once you give it a name and save it, it will automatically launch QuickTime 7 Pro and add your captions to your movie.
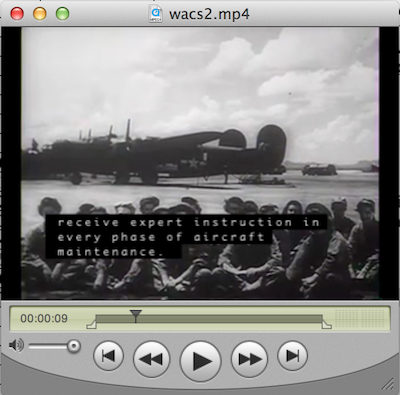
Review your movie with the captions. If you need to change anything, just close the QuickTime Player window without saving. Return to MovieCaptioner and make your final edits before exporting again. Once the captions on in the movie in the QuickTime player to your satisfaction, just save the movie. Saving the movie will actually bring up the Save As window where you'll give the movie and new name and it will make you keep the ".mov" extension in order to save it. This is perfectly fine for use in the iBook and will still open correctly in QuickTime Player as long as the movie was first saved as MPEG-4. You can change it back to ".mp4" when it's done saving.
On to iBooks Author
Now that you have a captioned movie, open iBooks Author. Decide on which page you want to put the movie and just drag your captioned MP4 movie to that page. It will create a movie widget for you automatically. Resize and place the widget where you want it.
See it on your iPad
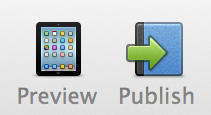
To see what it's going to look like, attach an iPad to your computer via USB cable and go to iBooks on your iPad. In iBooks Author click on the Preview icon bar at the top of the interface.
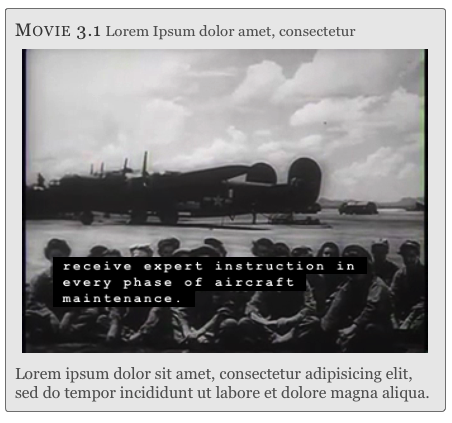
It will create a preview right on your iPad and will launch the book automatically to that page. If you have Closed Captioning turned on on your iPad you should be able to see your captions.
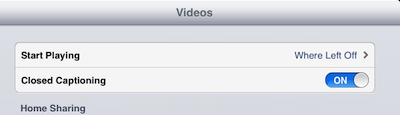
If you need to turn on closed captioning, go to the Settings, scroll down on the left until you find Videos, select it and Closed Captioning should appear on the right. Then just slide the switch on and closed captioning will be enabled.
Please give MovieCaptioner a try. You can download a free, fully-functional demo that is good for 14 days from http://www.synchrimedia.com. Please view the tutorial videos there to see how easy it is to be up and running with MovieCaptioner in a few minutes.
Good luck with your captioning projects!


Comments
Post a Comment